
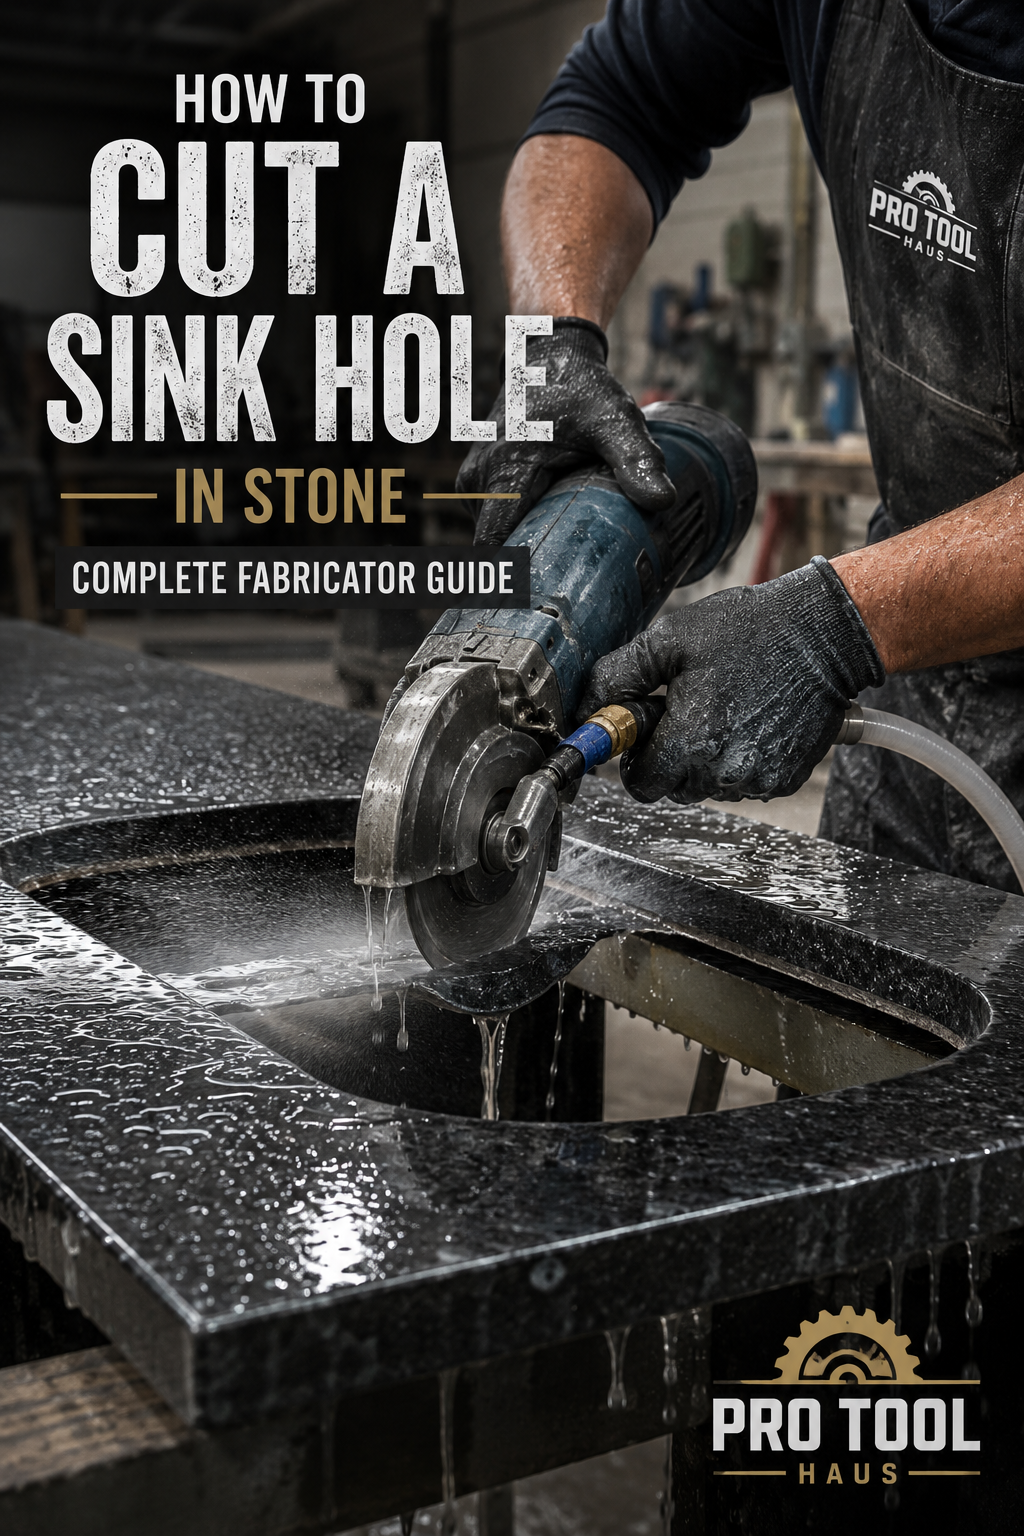
What Is a Sink Cutout?
A sink cutout is the opening cut into a stone countertop slab to accommodate a kitchen or bathroom sink. Depending on the sink type — drop-in, undermount, or farmhouse — the cutout dimensions, edge finish, and clip preparation requirements vary significantly. Getting this cut right is one of the most critical skills in stone fabrication: a misaligned or chipped cutout can ruin an expensive slab.
Tools and Materials You'll Need
Before starting, gather the following:
- Sink template or digital template file (from sink manufacturer or CNC file)
- Angle grinder (4.5" or 5") with a diamond blade rated for your material
- Jigsaw with a diamond or carbide grit blade (for tight radius corners)
- Plunge router (optional, for CNC shops or radius consistency)
- Straight edge / template guide
- Masking tape (protects slab surface during layout)
- Marker or scribe
- Vacuum with HEPA filter and wet suppression setup (OSHA silica compliance)
- Polishing pads (for edge finishing on exposed undermount lip)
- Undermount sink clips and epoxy (if undermount installation)
Step 1: Lay Out the Cutout
- Place the countertop slab face-up on your fabrication table with adequate support on all sides of the planned cutout — never let the cutout section hang unsupported, as it will crack under its own weight.
- Apply masking tape over the layout area to protect the surface and give your marker a clean surface to write on.
- Position the sink template (paper, MDF, or digital overlay) centered on the cabinet opening per your shop drawings. Standard practice is to center the sink on the cabinet width and set it 1–2" back from the front edge of the countertop.
- Trace the cutout line with a scribe or fine-tip marker. Double-check all four corners and confirm the template matches the actual sink dimensions — manufacturer templates can vary.
- Mark your corner radius points. Most undermount sinks require a minimum 1" radius at each corner; tighter radii increase cracking risk in brittle materials like quartzite or porcelain.
Step 2: Support the Cutout Section
This step is non-negotiable. Before any cutting begins:
- Attach a support board (MDF or plywood) to the underside of the slab spanning the cutout area using double-sided tape or clamps. This prevents the cutout piece from dropping and cracking the slab as the final cut is made.
- For CNC shops, your vacuum table or fixture handles this — but verify hold-down pressure before running the program.
Step 3: Make the Plunge Cut
- Set your angle grinder with a continuous rim or turbo diamond blade appropriate for your material:
- Granite / natural stone: turbo rim blade
- Quartz (engineered): continuous rim for cleaner edge
- Porcelain slab: ultra-thin continuous rim blade with slow feed rate
- Wet cutting is strongly preferred — use a water feed attachment or keep a helper running water at the cut line. Dry cutting generates respirable silica dust and requires full respiratory PPE per OSHA 1926.1153.
- Begin the plunge cut on a straight section of the layout line (never at a corner). Tilt the grinder to engage the blade gradually — do not drop straight in.
- Follow the straight sections of the cutout, stopping approximately 1" before each corner.
Step 4: Cut the Corners
Corners are where most sink cutout failures happen. Options:
- Jigsaw method: Use a diamond or carbide grit jigsaw blade to complete the corner radius. Work slowly with water suppression. This is the most common approach in manual shops.
- Angle grinder pivot method: Experienced fabricators can pivot the grinder through the corner, but this requires a steady hand and risks overcutting.
- CNC: Corner radii are programmed — ensure your toolpath uses a minimum 1" radius and your feed rate is reduced at corners for brittle materials.
Complete all four corners, then finish the remaining straight sections to connect the cuts.
Step 5: Remove the Cutout Piece
With all cuts complete and the support board in place:
- Carefully lift the cutout piece from below using the support board — do not pry from the top surface.
- Set the cutout piece aside. Many shops save these for sample displays or test cuts.
- Inspect the cut edge for chips, cracks, or deviation from the layout line.
Step 6: Finish the Edge
For undermount sinks, the cut edge is visible from below and must be finished:
- Start with a 50-grit diamond polishing pad to remove saw marks and true up the edge.
- Progress through 100 → 200 → 400 grit for a honed finish, or continue to 800 → 1500 → 3000 for a polished edge. Use Weha 7-Step Polishing Pads for a full grit sequence in one set.
- Apply a stone sealer to the finished edge — this is especially important on porous natural stones like granite and quartzite to prevent moisture infiltration at the sink joint. We recommend Skudo Stone Sealer for granite or the Tenax Quartz Enhancer Stone Sealer for engineered stone.
For drop-in sinks, the edge is hidden under the sink rim — a clean saw cut is sufficient, but remove any sharp burrs with a hand pad.
Step 7: Prep for Undermount Sink Installation
- Dry-fit the sink into the opening from below to confirm fit. There should be even clearance on all sides per the sink manufacturer's spec (typically 1/16" to 1/8").
- Mark clip locations on the underside of the countertop — most undermount sinks use 6–10 clips depending on size.
- Mix and apply two-part epoxy to the clip mounting points. We recommend Tenax Fixtop Knife Grade Epoxy for a reliable, stone-rated bond.
- Set Weha Z Bracket Sink Clips or Weha Pop-It Universal Sink Clips and allow full cure time before flipping or moving the slab.
- Apply a bead of silicone sealant around the perimeter of the sink opening on the underside before final installation.
Common Mistakes to Avoid
- Cutting without support: The cutout piece drops and cracks the slab — always use a support board.
- Skipping corner radius: Square corners concentrate stress and cause cracking, especially in quartz and porcelain.
- Dry cutting without PPE: Silica dust is a serious health hazard. See our OSHA Silica Dust Compliance Guide for fabricators.
- Wrong blade for the material: Using a granite blade on porcelain causes chipping and blade damage.
- Not sealing the undermount edge: Moisture infiltration at an unsealed edge leads to staining and long-term slab damage.
Recommended Tools for Sink Cutouts
- Chingon Premium Side Diamond Turbo Blade — granite & natural stone
- Weha 5" Duo Diamond Blade — marble & quartz
- Mastercut Diamond Blade — porcelain & ceramic
- Weha 5" Schein 7-Step Polishing Pads — edge finishing
- Weha Trio 3-Step Polishing Pads — quick hone finish
- Tenax Fixtop Knife Grade Epoxy — undermount clip bonding
- Weha Z Bracket Sink Clips (50/bag)
- Weha Pop-It Universal Sink Clips (50/bag)
- Skudo Stone Sealer — granite & natural stone
- Tenax Quartz Enhancer Stone Sealer — engineered quartz