
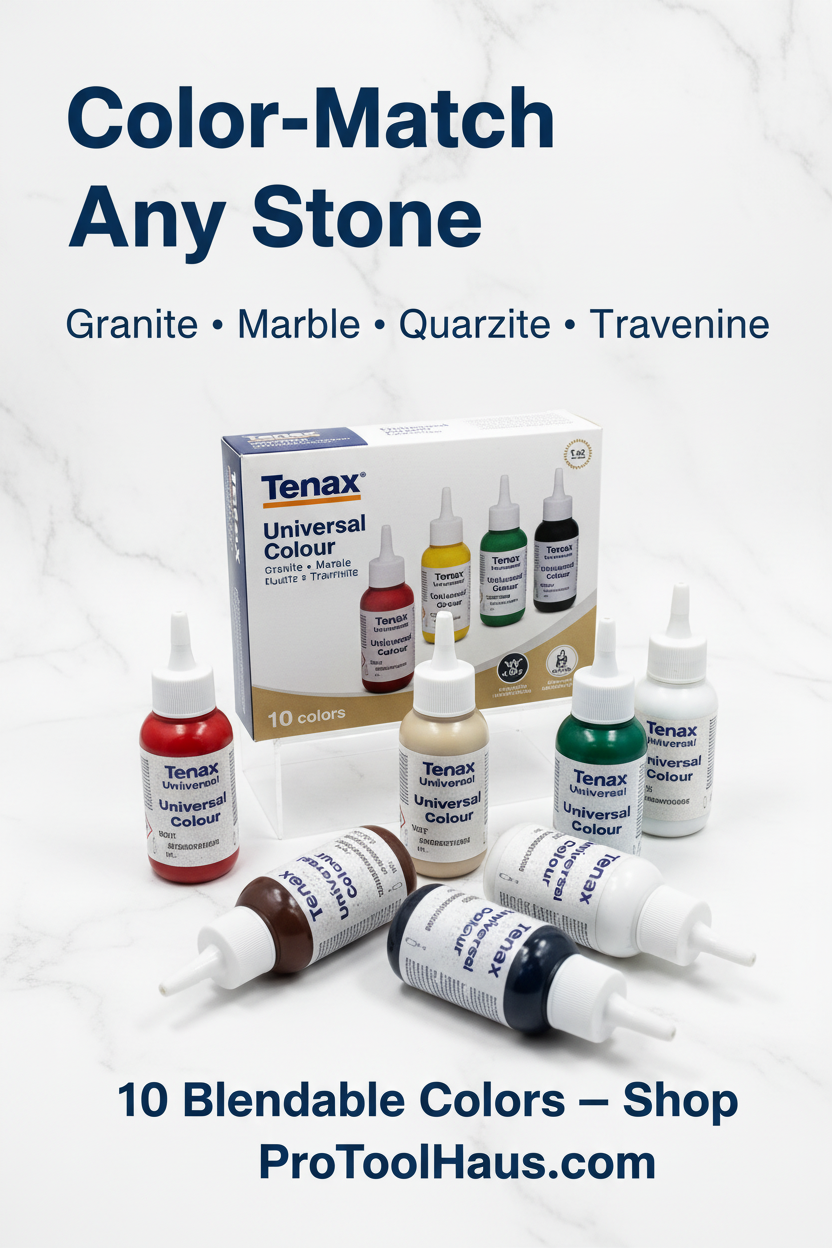
A chip or crack in a granite countertop is one of the most common repair calls a fabricator gets — and one of the most satisfying fixes when the color match is right. The difference between a visible repair and an invisible one almost always comes down to how well you dial in your adhesive color before you fill.
This guide walks through the process step by step, whether you're a homeowner doing a one-time repair or a shop tech who wants a more consistent color-matching workflow.
What You'll Need
- Tenax Universal Color Paste (individual colors or the 10-color kit)
- A compatible polyester or epoxy adhesive — Tenax Fixtop Knife Grade Epoxy or StrongEdge 45 Transparent Knife Grade Epoxy are both excellent choices
- Tenax Mixing Cups — 12 oz, for test batches and fill batches
- Mixing sticks or palette knife
- Cardboard or scrap stone for test batches
- UV lamp or natural light for curing test patches
- Tenax #9 Razor Blades for cleanup and leveling
Step 1: Identify Your Stone's Dominant Color
Before you open a single bottle, study the stone under good lighting. Most granites are not one color — they're a base tone with fleck, veining, or movement layered on top. Your job is to match the background field color first, not the whole stone.
Common starting points:
- White or light grey granite → start with White, add a touch of Grey
- Black granite (Absolute Black, Black Pearl) → start with Black, add Grey or Brown for fleck
- Beige or cream (many travertines, Colonial White granite) → start with Buff, add White or Yellow
- Brown or walnut tones → start with Brown, blend in Red Brown or Black
- Gold or multicolor (Giallo Ornamental, Venetian Gold) → start with Red Brown, add Yellow and a touch of Black
Step 2: Mix a Small Test Batch
Never mix directly into your repair adhesive. Mix a pea-sized test batch in a separate mixing cup — ideally using the same adhesive you'll use for the fill — and blend in color paste one drop at a time using the precision nozzle.
Add your base color first and get close, then introduce secondary colors in single drops. Stir thoroughly between each addition. The consistency of Tenax Universal Color Paste is specifically formulated to blend without streaking, so if you're seeing streaks, keep mixing.
Step 3: Cure and Compare — Don't Skip This
This is the step most people skip, and it's the most important one. Wet adhesive always reads darker than cured adhesive. A mix that looks perfect in the cup can dry two shades lighter.
Apply a thin smear of your test batch to cardboard or a scrap piece of the same stone and let it cure fully — either under a UV lamp (30–60 seconds) or in natural light (several minutes for polyester). Once cured, hold it directly against the repair area and compare in the same lighting conditions you'll be working in.
Adjust as needed. It usually takes 2–3 test batches to nail a complex stone.
Step 4: Mix Your Fill Batch and Apply
Once your test batch matches, replicate that exact ratio in a larger batch sized for your repair. Fill the chip or crack slightly proud of the surface, then allow to fully cure before leveling.
Keep your color paste additions under 2–3% by weight of the total adhesive volume. Exceeding this can affect cure time and bond strength — more pigment is not always better.
Step 5: Level, Polish, and Inspect
Once cured, use a Tenax #9 razor blade at a low angle to shave the repair flush, then polish through your standard grit sequence to match the surrounding stone finish. Inspect under raking light (hold a flashlight at a low angle across the surface) to catch any remaining texture difference before the customer sees it.
Which Size Should You Use?
The 2 oz Tenax Universal Color Paste is ideal for homeowners doing a single repair or fabricators trying a new color for the first time. For production shops doing regular color-matching work, the 8 oz bottle is the better value. If you're building out your color toolkit from scratch, the 10-color 2 oz set gives you the full blending palette to tackle any stone that comes through the shop.
Pro Tips for Consistent Results
- Always test under the same lighting you'll be working in — repair bays with fluorescent overhead light will read differently than a kitchen under warm LEDs.
- Label your successful mix ratios on a notepad or job sheet. When that customer calls back six months later with another chip, you'll thank yourself.
- Store your color paste bottles upright with the twist-lock cap fully engaged. Dried nozzles are the #1 reason fabricators think a product has gone bad when it hasn't.
- For complex stones like Calacatta marble or Blue Bahia granite, match the background fill first, then use a fine artist's brush to hand-paint veining or crystal detail on top of the cured fill before final polish.
Color-matching adhesive is part science, part eye — but with the right pigment system and a disciplined test-and-cure workflow, invisible repairs are consistently achievable. Shop Tenax Universal Color Paste in individual colors or the full 10-color kit.