
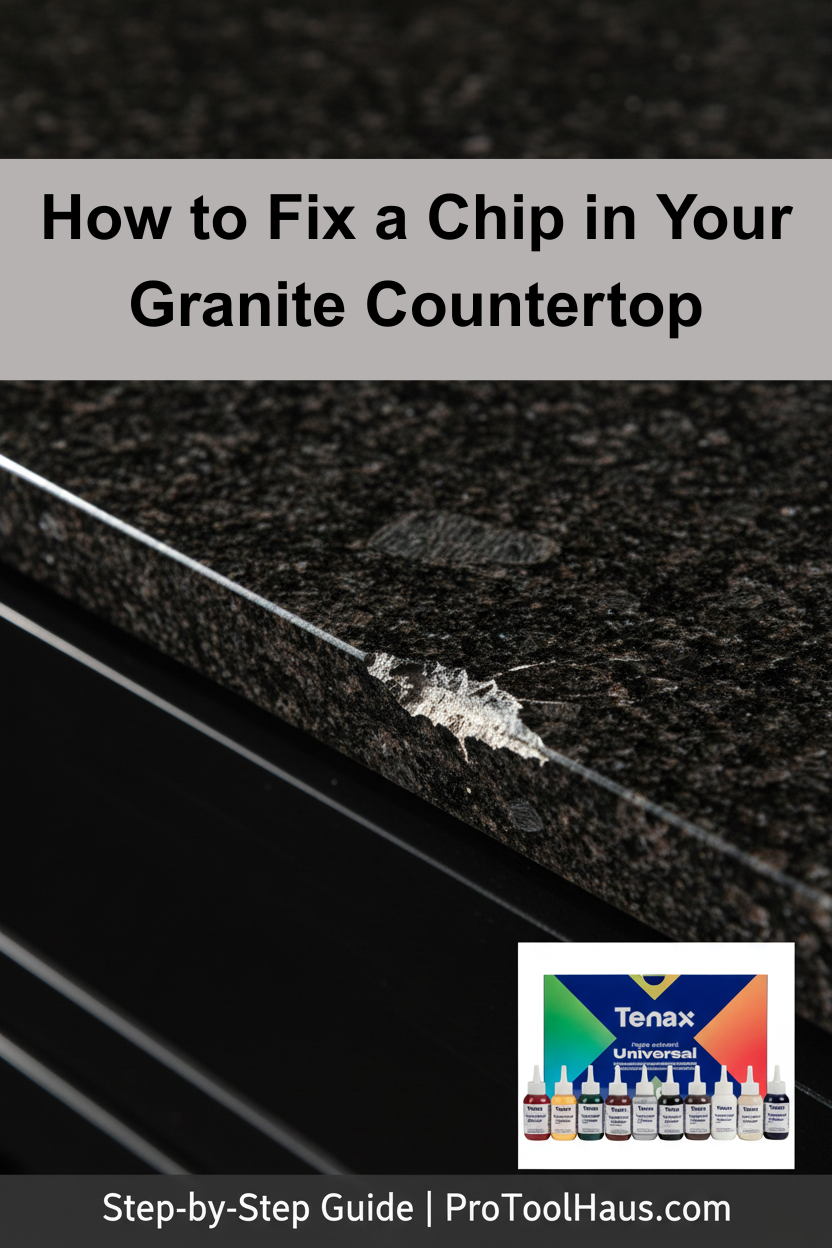
A chip in your granite countertop can feel like a disaster — but it's one of the most fixable problems in stone care. With the right adhesive and a color-matched pigment, most chips disappear completely. This guide walks you through exactly how professionals do it, and how you can get the same result at home.
What You'll Need
- Polyester or epoxy stone adhesive (clear or color-matched base)
- Tenax Universal Color Paste — to match your granite's color
- Mixing stick or toothpick
- Razor blade or plastic scraper
- Acetone or denatured alcohol (for surface prep)
- Painter's tape
- Fine-grit wet/dry sandpaper (400–600 grit) — for larger repairs
Step 1: Clean and Prep the Area
Before anything touches the chip, clean the area thoroughly with acetone or denatured alcohol on a clean cloth. Remove all grease, soap residue, and dust. Any contamination will prevent the adhesive from bonding properly. Let it dry completely — 2 to 3 minutes is enough.
Apply painter's tape around the chip to protect the surrounding stone surface and give yourself a clean working boundary.
Step 2: Match Your Granite's Color
This is the step most DIYers skip — and it's why most DIY repairs look like repairs. Color matching is everything.
Squeeze a small amount of clear adhesive onto a mixing surface. Add Tenax Universal Color Paste one drop at a time, blending until you match the dominant background color of your granite. Most granites need a base of White, Grey, or Buff, with small additions of Brown, Black, or Red Brown to hit the right tone.
Pro tip: Test your color mix on a piece of cardboard first and let it cure — wet adhesive always looks darker than the cured result.
Do not exceed 2–3% pigment by weight. Too much color paste weakens the adhesive bond.
Step 3: Fill the Chip
Using a toothpick or mixing stick, carefully fill the chip with your color-matched adhesive. Slightly overfill — you want the adhesive to sit just above the surface so you can level it down after curing. Avoid air bubbles by pressing the adhesive in gently rather than dropping it in.
Remove the painter's tape before the adhesive begins to set.
Step 4: Let It Cure
Follow the adhesive manufacturer's cure time — typically 15 to 30 minutes for polyester, longer for epoxy. Do not disturb the repair during this window. Keep the area dry and at room temperature.
Step 5: Level and Polish
Once fully cured, use a sharp razor blade held flat against the surface to carefully shave the repair flush with the surrounding stone. Work slowly and at a low angle to avoid scratching the granite.
For a polished finish, follow up with 400-grit wet/dry sandpaper, then 600-grit, working in small circular motions. Finish with a stone polish or honing compound to blend the sheen.
Common Mistakes to Avoid
- Skipping surface prep: Adhesive won't bond to a dirty or oily surface.
- Using too much pigment: Stay under 2–3% by weight or the adhesive may not cure properly.
- Not testing the color first: Always cure a test batch before filling the chip.
- Rushing the cure: Cutting or sanding before full cure will pull the repair out of the chip.
When to Call a Professional
DIY repair works well for chips smaller than a quarter. For large cracks, edge damage, or repairs on high-visibility areas like kitchen islands, a professional fabricator will get a better result — especially on exotic stones like quartzite, onyx, or book-matched marble where pattern continuity matters.
Get the Right Products
ProToolHaus carries the full Tenax color paste system used by professional fabricators across the US. The Tenax Universal Color Paste is available in individual 2 oz bottles or as a complete 10-color kit — everything you need to match granite, marble, travertine, quartzite, and more.