
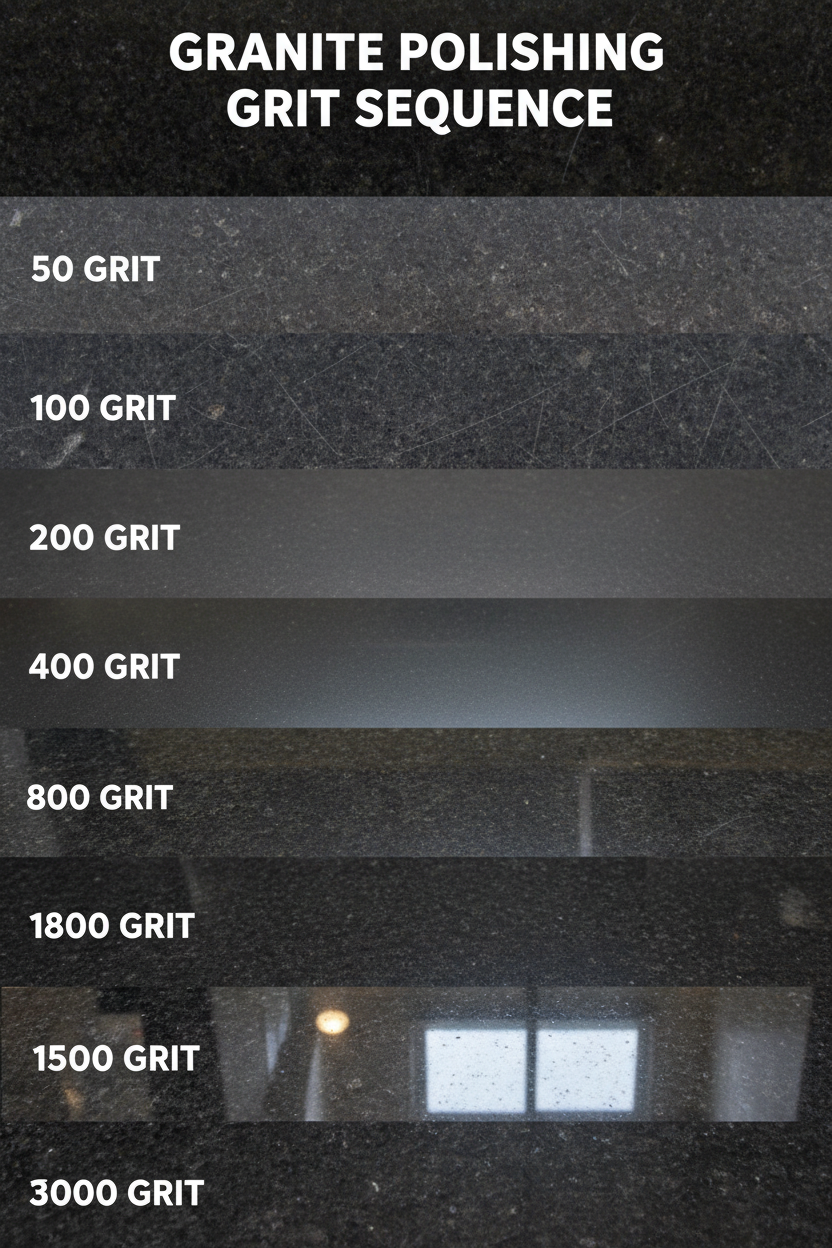
What Grit Sequence Should I Use for Polishing Granite?
The standard grit sequence for polishing granite runs from coarse diamond grinding through progressively finer abrasives to a final high-gloss polish. Skipping grits is the most common mistake fabricators make — each step must fully remove the scratch pattern left by the previous one before you move on.
Standard Granite Polishing Sequence
For a countertop starting from a sawn or rough surface:
- 50 grit — coarse grinding, removes saw marks and levels the surface
- 100 grit — refines the scratch pattern from 50 grit
- 200 grit — intermediate grinding, surface begins to smooth
- 400 grit — honing stage, scratch pattern becomes fine
- 800 grit — pre-polish, surface takes on a slight sheen
- 1500 grit — fine polish
- 3000 grit — final polish, high-gloss finish
For a 3-step system (Chido, EZ3, or Trio pads), the three pads compress this sequence into three stages — coarse, medium, and fine — designed to move efficiently from scratch removal to final polish without the full 7-step progression.
When to Start at a Coarser Grit
Start coarser than 50 grit if you're dealing with:
- Deep scratches or damage that 50 grit won't remove efficiently
- Significant lippage between slabs
- Epoxy or adhesive residue on the surface
In these cases, start at 30 grit (metal-bond) and work up from there.
When to Start at a Finer Grit
If the surface is already honed or lightly scratched — for example, a countertop that just needs re-polishing after installation — you can often start at 400 or 800 grit and work up from there. Assess the surface first: if you can see the scratch pattern clearly, start below it.
How to Know When to Move to the Next Grit
The surface must show a uniform scratch pattern from the current grit — no deeper scratches from previous steps visible anywhere. Check by looking at the surface at a low angle in raking light. If you can still see coarser scratches, keep working the current grit before moving on.
Common Mistakes
- Skipping grits — the most common error. The scratch pattern from a skipped grit will show up in the final polish and can't be polished out without going back.
- Moving too fast — rushing through grits leaves residual scratch patterns that compound at the polishing stage.
- Not enough water — granite polishing requires consistent water flow to cool the pad and flush swarf. Dry spots cause pad glazing and uneven results.
- Wrong pad for the material — some 3-step systems are optimized for quartz and engineered stone. For natural granite, verify your pad system is rated for natural stone.
Recommended Products
- Chido 4" 3-Step Diamond Polishing Pads — hybrid formula, consistent across granite and mixed stone types
- Weha EZ3 3-Step Diamond Polishing Pads — high-volume production, strong value
- Weha Trio 3-Step Diamond Polishing Pads — premium finish, complex profiles