
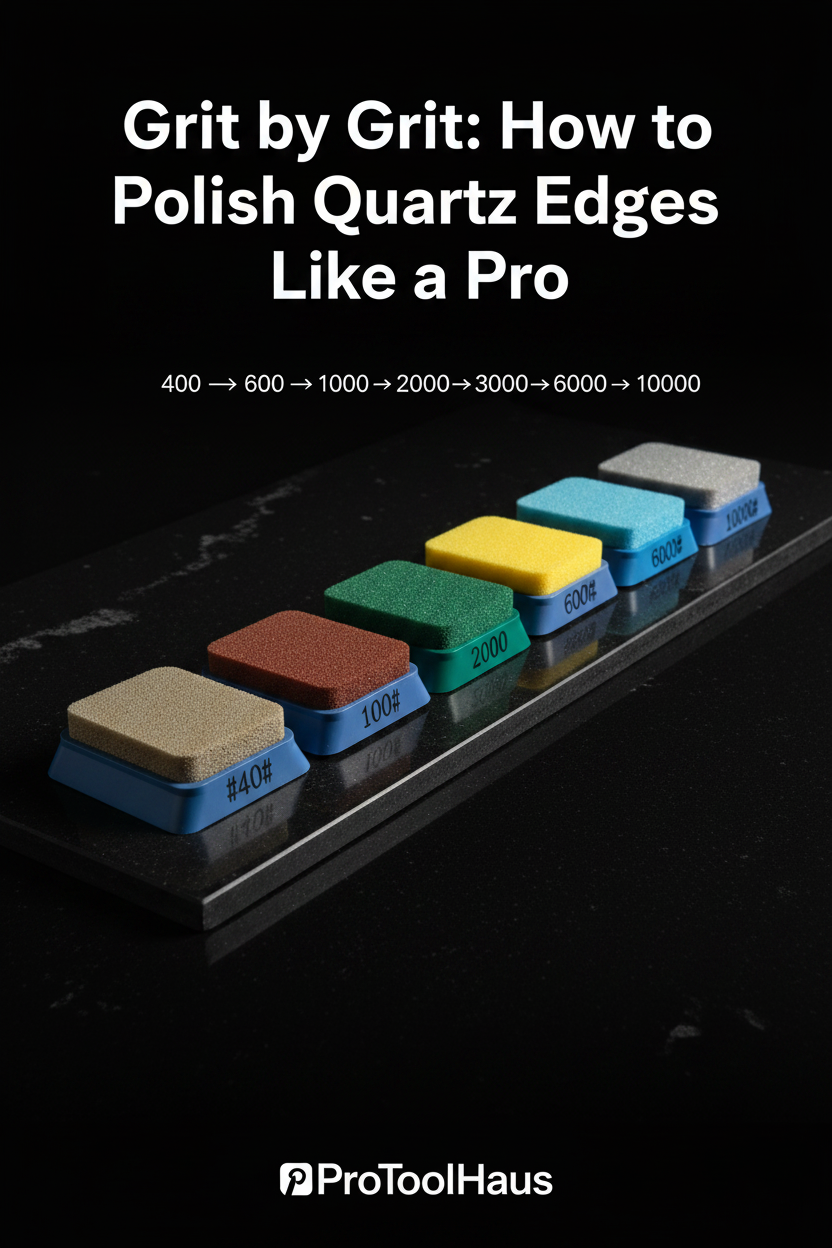
Polishing quartz edges on an automatic edge machine is one of the most technically demanding tasks in a stone fabrication shop. Quartz and engineered stone are significantly harder and more abrasion-resistant than natural granite or marble — and if you're running the wrong pads or the wrong grit sequence, you'll burn through consumables fast and still end up with micro-scratches that show up under shop lighting.
This guide covers the complete grit-by-grit sequence for quartz edge polishing on inline and vertical edge machines, using the Weha Donkey FF Quartz Face Diamond Polishing Pads — a pad engineered specifically for this application.
Why Quartz Edges Require a Purpose-Built Pad
Standard granite polishing pads are formulated for natural stone — a softer, more porous material that responds well to conventional diamond bond matrices. Run those same pads on quartz or engineered stone and two things happen:
- The bond wears faster than the diamonds expose, causing glazing and reduced cutting efficiency
- The softer matrix leaves micro-scratches that are difficult to remove without dropping back down in grit
The Weha Donkey FF uses a higher diamond concentration and a harder bond matrix specifically calibrated for engineered stone. The result is a cleaner, faster polish with less pad consumption per linear foot — which matters when you're running production volume.
Machine Compatibility
The Donkey FF pads are 6" hook & loop and are compatible with the following automatic edge polishing machines:
- GMM
- Comandulli
- Park Industries
- Marmo Meccanica
- Sasso
- Montresor
- Frankfurt-compatible spindles
Hook & loop attachment allows quick pad swaps between grits during production runs without stopping the line longer than necessary.
The Complete Grit Sequence for Quartz Edge Polishing
The Donkey FF is available in seven grits: 400, 600, 1000, 2000, 3000, 6000, and 10000. Here's what each grit is doing and when to use it.
400 Grit — Heavy Stock Removal
Your starting point after sawing. The 400 removes saw marks, chips, and rough surface texture left by the blade. This grit is doing the most aggressive work — don't skip it on fresh-cut edges, and don't linger on it longer than needed or you'll create deeper scratches that take more passes to remove downstream.
600 Grit — Secondary Grinding
The 600 smooths out the scratches left by the 400. At this stage the edge should be uniformly matte with no visible saw marks. If you can still see 400-grit scratches, run another pass before moving on — chasing scratches from a lower grit with a higher grit costs more time than going back.
1000 Grit — Pre-Polish
The surface begins to develop a sheen at 1000. This is the transition from grinding to polishing. The edge should look consistently hazy with a slight reflective quality — no dull patches or uneven texture.
2000 Grit — Light Polish
The 2000 removes 1000-grit scratches and begins building real gloss. At this stage you should see a clear reflection developing on the edge. Any inconsistency here — dull spots, uneven sheen — means the 1000 pass wasn't complete.
3000 Grit — Medium Polish
Gloss continues to build. The edge should look close to finished at this point on most quartz colors. On lighter quartz, some fabricators stop here and move to a final buff — on darker or high-gloss materials, continue through 6000 and 10000.
6000 Grit — High Polish
Near-mirror finish. The edge should be highly reflective with minimal visible scratching under direct light. This is the minimum endpoint for high-gloss quartz and most engineered stone specifications.
10000 Grit — Final Buff
Full mirror finish. Use the 10000 to match factory polish on premium quartz edges. This is your final pass before the edge goes to the customer — any remaining haze or micro-scratches at this stage indicate an incomplete pass at a lower grit.
Grit Sequence at a Glance
| Grit | Stage | What It Does |
|---|---|---|
| 400 | Heavy grinding | Removes saw marks and chips |
| 600 | Secondary grinding | Smooths 400 scratches |
| 1000 | Pre-polish | Develops initial sheen |
| 2000 | Light polish | Builds gloss, removes 1000 scratches |
| 3000 | Medium polish | Near-finished appearance |
| 6000 | High polish | Near-mirror finish |
| 10000 | Final buff | Full mirror, factory match |
Common Mistakes and How to Avoid Them
Skipping grits to save time. Each grit in the sequence is removing the scratches left by the previous one. Skip a grit and you're asking the next pad to do twice the work — which means slower polishing, faster pad wear, and a finish that doesn't hold up under inspection.
Running too fast through the sequence. Especially on 400 and 600, make sure each pass is complete before moving up. A quick visual check under a raking light source will show you whether the previous grit's scratches are fully removed.
Using granite pads on quartz. As covered above — the bond matrix matters. Donkey FF pads are specifically formulated for engineered stone. Using a general-purpose granite pad on quartz will cost you in pad life and finish quality.
Not changing pads when they glaze. A glazed pad looks shiny but cuts poorly. If your pad is not cutting efficiently, it's time to replace it — don't try to dress it back into service on a production run.
Works Well With
- Weha Donkey Face Polish & Inline Polishing Pads — for surface repair and seam blending after edge polishing
- Weha Brass Snail Lock Hook & Loop Back Up Pad — rigid resin backer for inline wheel systems
- Weha Donkey 3-Step Inline Polishing Pads — for granite and marble edge sequences on the same machines