
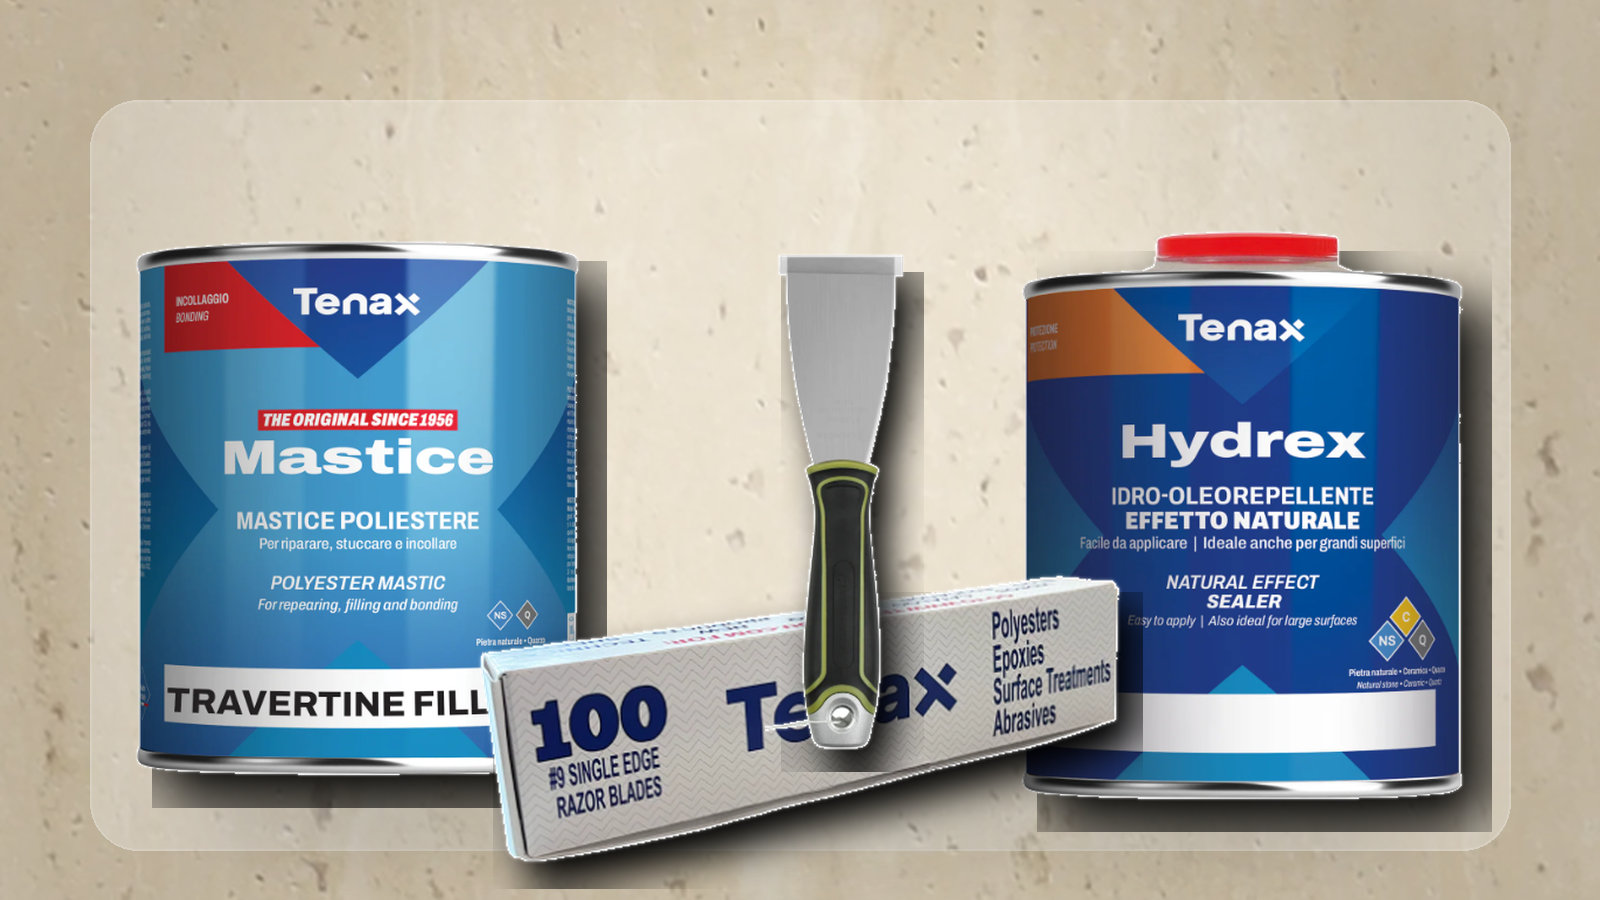
Travertine, Crema Marfil, and other beige-toned natural stones are beautiful — but they come with a common challenge: small pits, holes, and voids that appear over time or were never fully filled from the factory. The good news? This is a very fixable DIY repair if you use the right filler and follow the right steps.
Here's everything you need to know.
Frequently Asked Questions
What filler should I use for Crema Marfil or beige-toned marble?
Crema Marfil has a creamy beige to light yellowish-ivory tone. We carry two products that work well depending on your specific stone's color:
- Travertine Filler — typically the closest match for most Crema Marfil and travertine. Pre-colored to a warm beige tone.
- Buff Knife Grade Polyester Filler — a slightly different buff/ivory tone. Great if your stone leans a bit lighter or more neutral.
We recommend comparing both to your stone in natural light before committing. Both come with the hardener included.
Is this a DIY-friendly repair?
Yes — it's very manageable for a DIYer. The polyester sets quickly once the hardener is added, so we recommend practicing the mix and application on a piece of cardboard once or twice before working on your stone. Once you get the feel for the timing, it's straightforward.
What is the step-by-step process for filling holes and voids?
Step 1: Prep the Stone (Critical)
- Clean the voids: Use a stiff nylon brush, vacuum, or compressed air to remove all loose debris and dust from the holes.
- Dry completely: The holes must be 100% dry. Any trapped moisture will prevent the polyester from bonding and can cause it to pop out later.
Step 2: Mix and Color Match
- Scoop the base: Place the amount of filler you need onto a clean, non-porous mixing board (scrap stone, plastic, or cardboard works great).
- Adjust tone (optional): If you need to fine-tune the color to match your specific tile, blend in a microscopic drop of universal coloring paste before adding the catalyst.
- The ratio: Add the paste hardener (catalyst) at a 100:2 to 100:3 ratio — think a golf-ball-sized dollop of filler to a small pea-sized squeeze of hardener.
- Mix thoroughly: Mix quickly and aggressively with a putty knife for about 30 seconds until the color is completely uniform with no streaks.
- ⚠️ Important: Once mixed, you have only 4–7 minutes of working time before the gel state begins.
Step 3: Apply the Filler
- Press firmly: Using a flexible putty knife, press the filler firmly into the hole to eliminate any trapped air pockets.
- Overfill slightly: Leave the filler sitting slightly proud (higher) than the stone surface. Polyester shrinks marginally as it cures, so you need that extra height to scrape flat later.
Step 4: Scrape Flat During the Gel State Window
- Watch your leftover mixing pile. As it cures, it will transition from a sticky paste to a rubbery, clay-like "gel state."
- The moment it hits this rubbery stage, take a clean, sharp single-edge razor blade, hold it at a slight angle flat against the tile, and shave the excess filler flush with the stone. It should slice away cleanly like cold butter.
- If you miss this window and it fully hardens, you'll need to mechanically sand or polish it down — significantly more effort.
Step 5: Curing
- Let the filled areas sit undisturbed. The polyester will fully cure and harden to a polishable density within 20–30 minutes. Once cured, you can walk on it or proceed with sealing.
What tools do I need?
- Flexible putty knife — for applying and pressing the filler
- Single-edge razor blades — for scraping the filler flush during the gel state
- Universal color paste — optional, for fine-tuning the color match
Should I seal my Crema Marfil after filling?
Absolutely — especially if it hasn't been sealed in the last couple of years. After filling, we recommend Tenax Hydrex, a solvent-based penetrating sealer that works exceptionally well on Crema Marfil. It penetrates deeply, seals very well, and will not alter the color of your stone.
Coverage: approximately 220 sq ft per quart on Crema Marfil.
Note: It is solvent-based, so expect a strong odor. Use in a well-ventilated area.
How do I apply Tenax Hydrex?
Step 1: Prep the Surface
- Clean thoroughly — remove all dust, grease, and dirt.
- The stone must be 100% bone-dry. Moisture will block penetration and can cause cloudiness.
Step 2: Apply the First Coat
- Pour a small amount of Hydrex directly onto the stone or onto a clean, dry white cloth or sponge.
- Spread evenly, applying more to areas that absorb quickly, until the stone stops taking in the liquid.
Step 3: Buff Away Excess (Crucial)
- Do not let the liquid dry on the surface. After 5–10 minutes (while still wet), vigorously buff the entire surface with a clean, dry microfiber cloth.
- Wipe away all remaining residue until the surface looks completely dry and clean.
- ⚠️ If excess sealer dries on the surface, it will create a hazy, sticky film. To fix it, apply more sealer, let it sit briefly to re-wet the residue, then buff off completely.
Step 4: Apply a Second Coat (Recommended for Marble)
- Wait 10–15 minutes after the first coat.
- Repeat: apply evenly, let sit briefly, buff off 100% of the excess.
Step 5: Curing
- Keep the surface dry and free from traffic for at least 24 hours to allow the sealer to fully cross-link inside the stone.
Can I use this method on travertine and limestone too?
Yes. The same process applies to travertine, limestone, and other beige or neutral-toned natural stones. The key is selecting the right pre-colored filler for your specific stone's tone — the Travertine Filler and Buff Knife Grade Polyester cover the most common shades in this family of stones.
Have questions about your specific stone? Reach out — we're happy to help you find the right color match and products for your project.